 PC Gian Reyes Dionisio Like I said in my Facebook post from Tuesday, I HIGHLY recommend investing in a nicer lens instead of buying your DSLR with the kit lens that comes with it. Lenses will stay with you even when you change bodies, so they are a great investment!
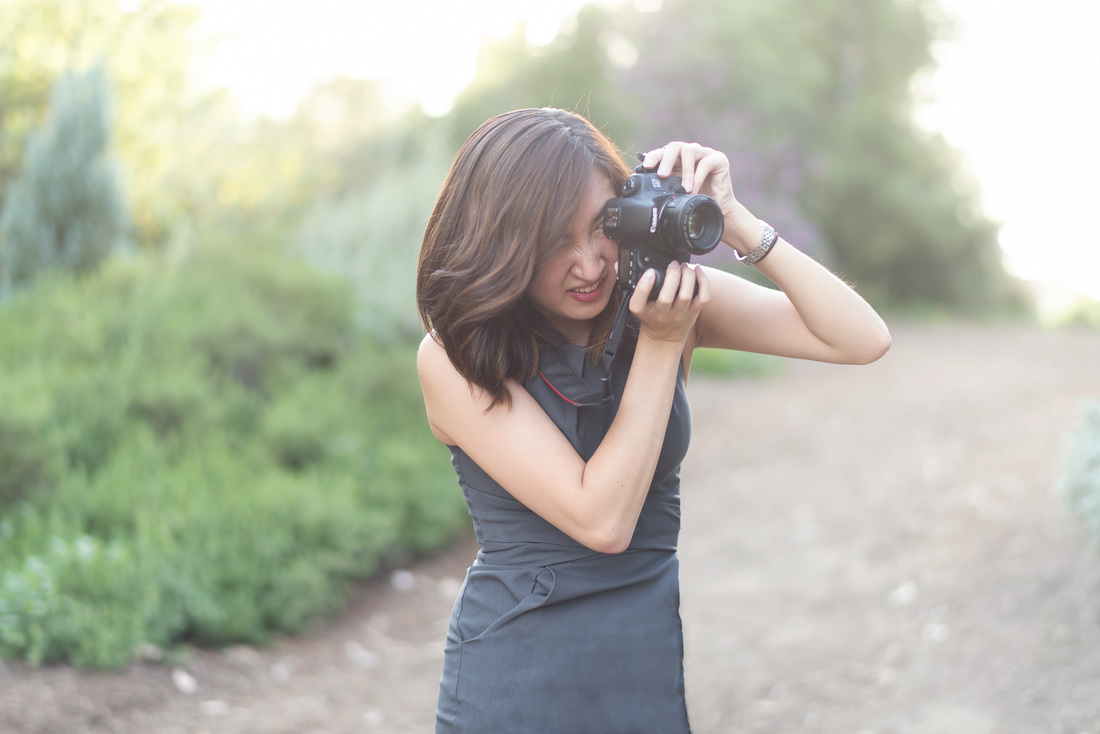
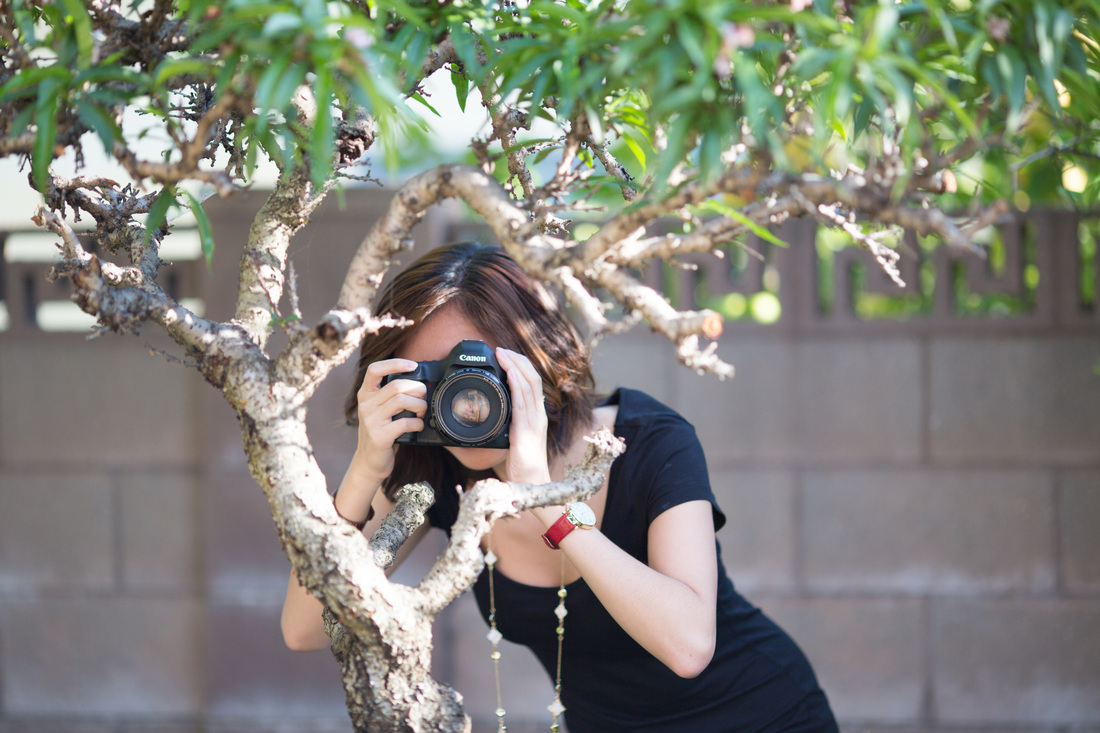 PC Sachiko Studio From my smartphone to my compact camera to my DSLR, here is an all encompassing look at what I shoot with! (with photo samples obviously) I know DSLRs aren't for everyone because they're so big, so I wanted to share this in case anyone was wondering what else is a good option. For your amusement, here is a photo Nadine took of me creeping behind a tree with my camera...
From smallest to largest, here is everything I've used/use!  PC Sachiko Studio I can't believe that this January marks 3 years that I've been a photographer! I feel so blessed to have so many people who believe in me and my work. Since this is also my last year at USC and my last year as the USC Photography Club President, I thought that I'd make some resolutions both in photography and personally. One of my main resolutions is to blog 1-2 times a week in order to give back to everyone who has supported me! I hope that blogging about my sessions and giving tips and tricks can encourage more people to explore the wonderful world of photography. Learning about photography has changed my life in so many ways, and I hope to share my love of it with anyone who is interested! Check my blog every Tuesday (and some Thursdays) at 8pm to follow my photography adventures, and to learn more about photography! :) What are your New Years resolutions? Drop them in the comments! ---- Never Miss An Update! 1. Join the Mailing List - Subscribe to my mailing list to the right (I won't email you spam!) 2. Get Notifications on Facebook 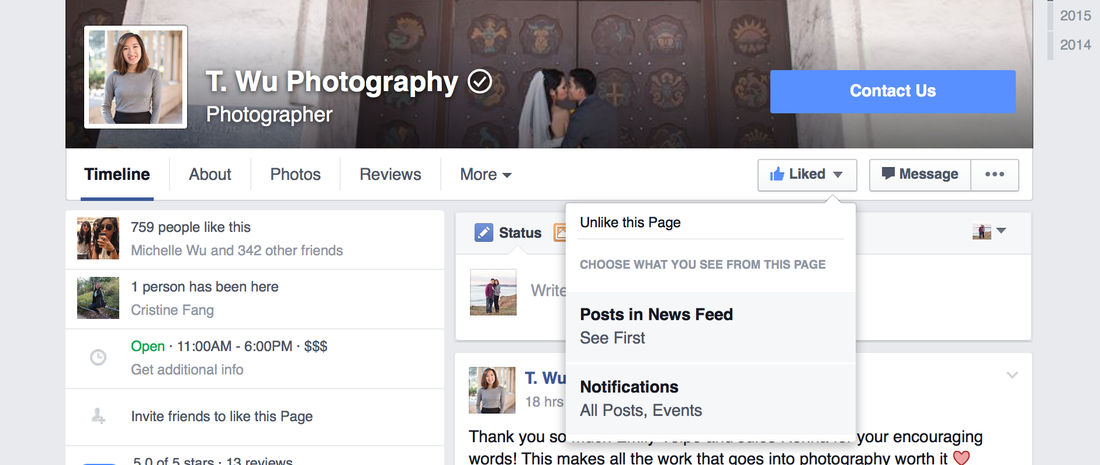 - Like T.Wu Photography
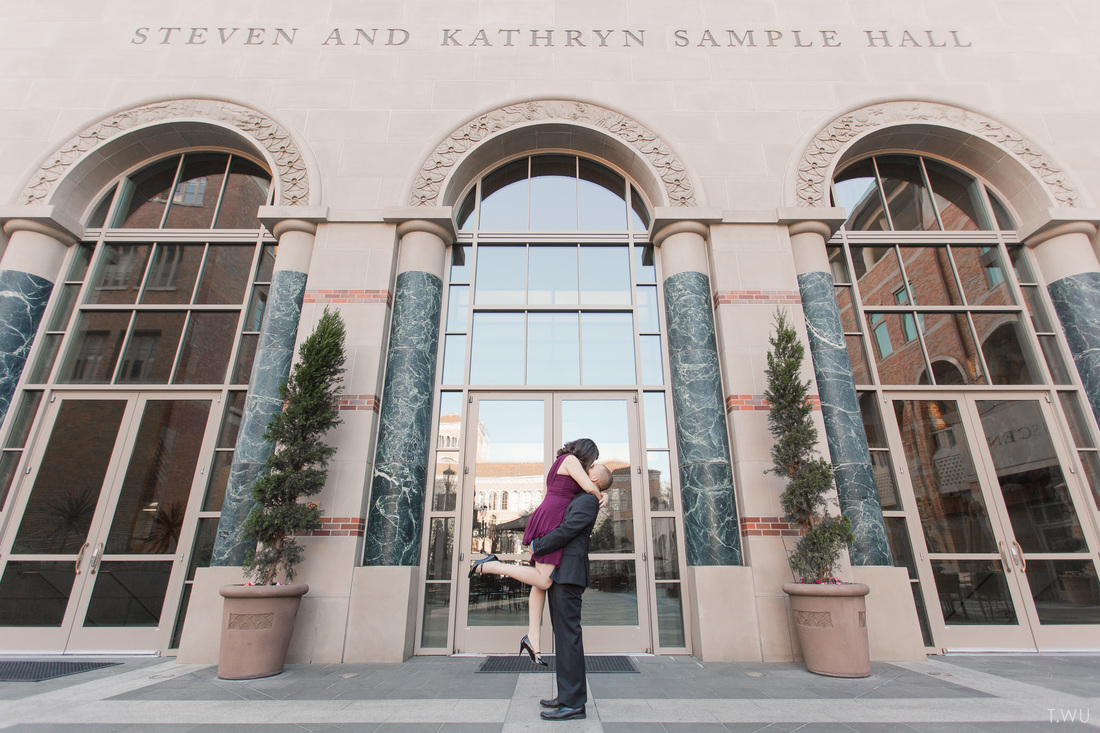
- Click "Get Notifications" under the "Like" button 3. Follow on Instagram -I'll be posting whenever I write a new blog post! 4. Where else can you find me? -Tumblr -YouTube -Google+ 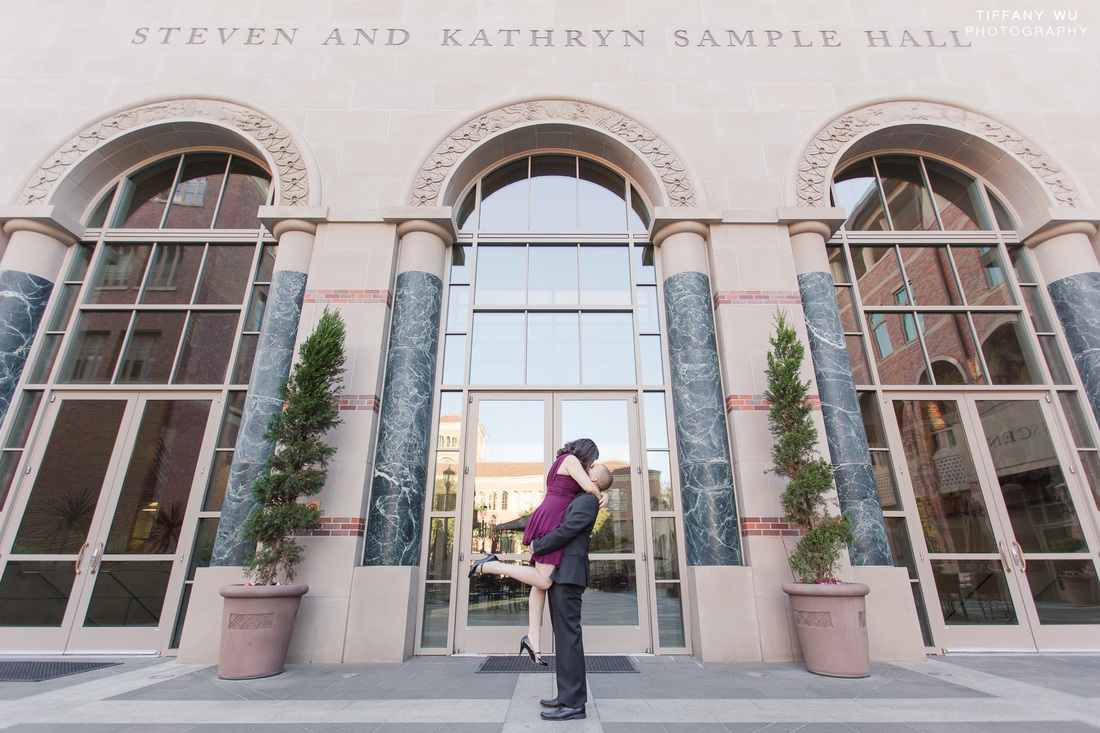 While Jules and Emily are both from New York, Jules is currently attending the University of Southern California for graduate school. They are getting married in New York, but wanted to do an east coast and west coast engagement session. For their west coast engagement session, they reached out to the USC Photography Club in order to support our student photographers. I am honored that they chose me to shoot their engagement session on the west coast! They opted to do their session at USC , which made things easy for me as a USC student photographer. I was able to recommend the best spots for their session!
During my initial consultation with them, I asked what they normally did in their free time. Jules told me that they enjoy spending their time doing nothing and just being together. Their chill personalities shined through in the engagement session-- they were ready to try whatever poses I threw at them! I can't wait to see their wedding photos when they get married in New York in October :) 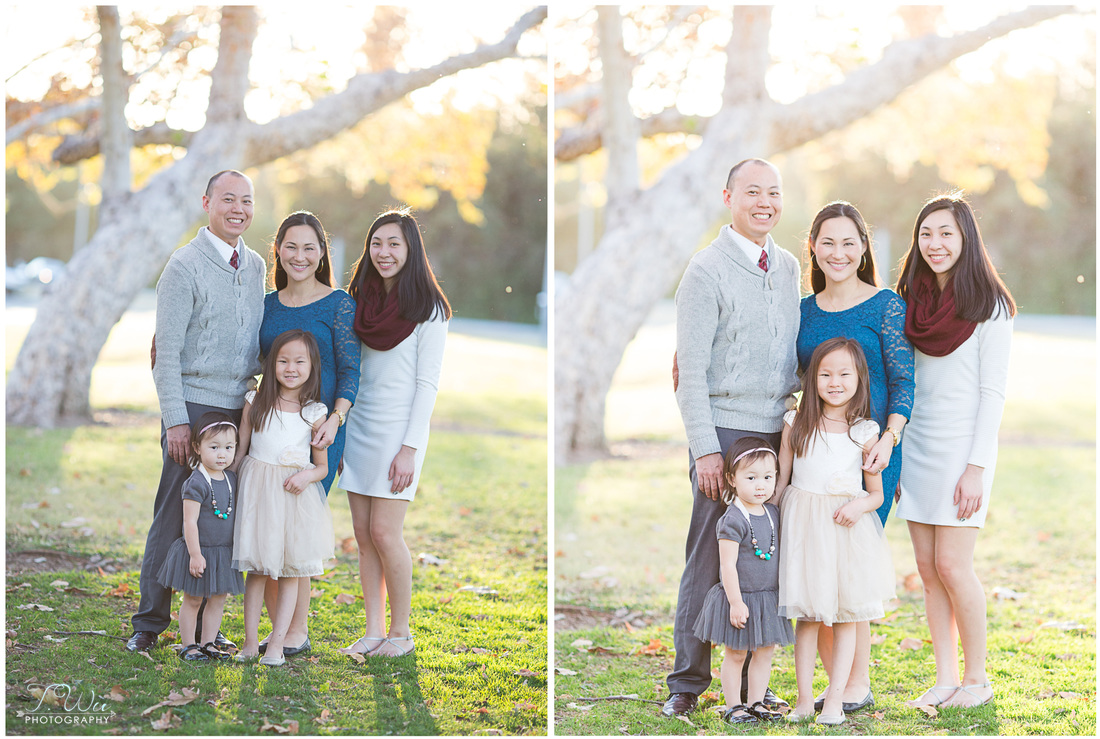 Here is a snapshot of the before and after of my family session with the Hsu family! Since this photo has gotten so many likes from photographers, I decided to write up a technical explanation of how I got the shot.
Summary Time: This was shot about 1 hour before sunset (the golden hour!) Gear: Canon Mark III + 135mm f/2 Settings: 1/800 f/2.5 ISO 1000 Edit: Lightroom Time When you shoot a family portrait session, the best time to plan the session is to end half an hour before sunset. Since the sun set at 5:30pm when this session was shot, we started at 3:30pm, which was perfect since it got really dark by 4:30pm. Golden hour lends the beautiful light that gives you shots like this! The light is the softest during this time, and gives you the perfect opportunity to backlight your subjects. Note about backlighting: make sure it is being diffused by something-- in this instance, the light was shining in from the tree behind the family. It can be tricky to focus with backlighting, but some things that help are the lenses you use and a lens hood. In this case, I didn't have a lens hood, so I held my hand over the lens to block the light coming in from the sun. I also used back button focus* to help with focusing. Gear Since this was a session for my photography mentor Nadine of Sachiko Studio, she lent me her gear. While I love my Canon 6d, the Mark III was amazing! She also challenged me to use the 135mm f/2 to shoot her family due to the compression* that it offers. (Quick summary: longer lenses help a lot more with separating the subjects from the background) Normally I wouldn't shoot a family with such a long lens because you lose the kids' attention, but Nadine's kids were so good... good enough for me to get this shot at least ;) Settings 1/800 f/2.5 ISO 1000 Some of you might think these settings are crazy for being outside in the sun, but Nadine has taught me to stick above 1/500 for shutter speed. The closer we are to 1/1000, the sharper our photos seem to be. I write this as a disclaimer since I know you could get sharp photos when you're under the 1/500 mark, but this just seems to work for us! The amazing depth of field was thanks to the f/2.5 aperture. Since it was a group of 5 standing in two layers, I wanted to have some wiggle room, so I didn't shoot them at the widest aperture of 2.0. (Technically if they were standing on the same plane, I could have shot them at 2.0*) However, they were standing close enough where I could shoot them at 2.5, and still have everyone in focus. I adjusted the ISO based on the light meter, and the Mark III could definitely handle an ISO of 1000 without any grain*! Edit Since I will most likely try to cover editing in another blog post, I'll keep this relatively short. I started with Katelyn James' Basic Import that she included when I bought her Skin Consistency Workshop. The gist of the import is lens correction and brightening the overall photo. I cropped it in to be straighter and closer to the family. I warmed it up with split toning and partially with the temperature slider. As Katelyn would say, I added some POP with the contrast and color sliders. I hope this technical explanation helped anyone who was interested! Happy Monday everyone :) -TWu *There is so much that was covered in this post that will be covered in a future blog post!  In honor of the upcoming holidays, here is my compilation of affordable nerdy photographer gifts that you could get for your photographer friends or friends who want to improve their smartphone photography game. Happy holidays everyone!
During weddings, photographers are often left with limited options when it comes to shooting details. I recently challenged myself to do a detail shot in my small apartment at USC. I wanted to blog about my thought process in choosing the location for the shot. I hope it helps anyone trying to figure out where to shoot little details without much effort. The subject in the photo was my anniversary present to James. 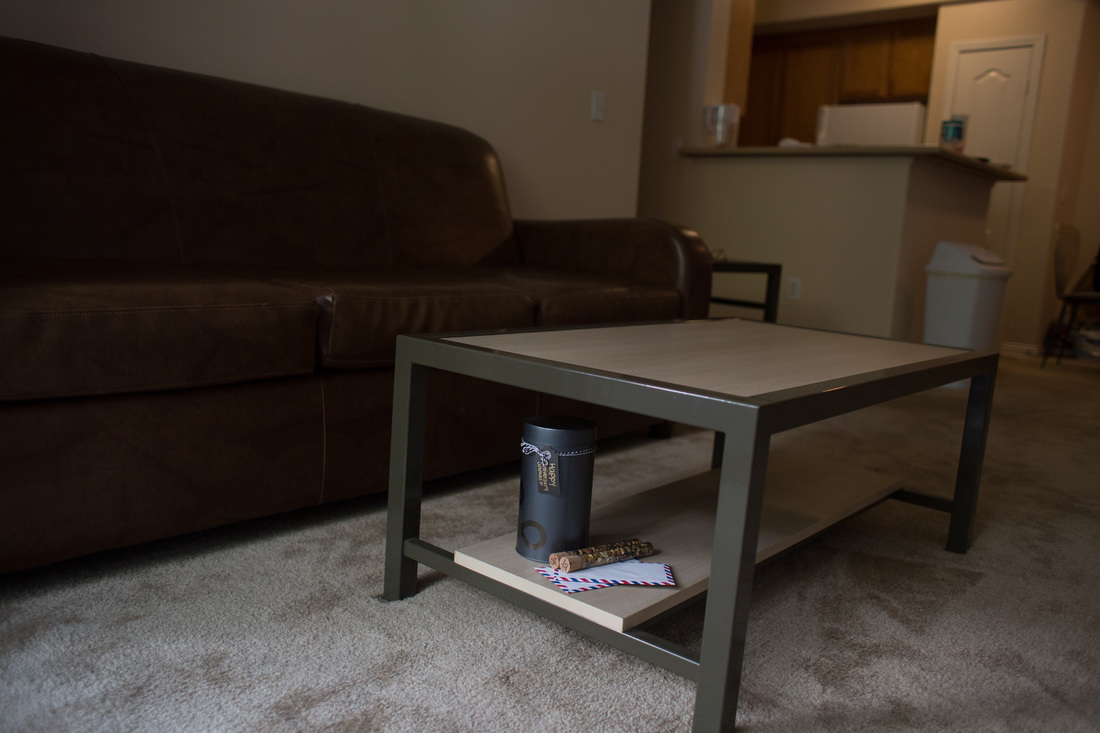 Here is a wider shot showing what I had to work with. I wanted to do my best to isolate the subject from the living room. I chose the lower level of the table in order to block out the distractions of the background, which included the kitchen and unappealing trash can. The wood is also a much nicer option than the carpet. 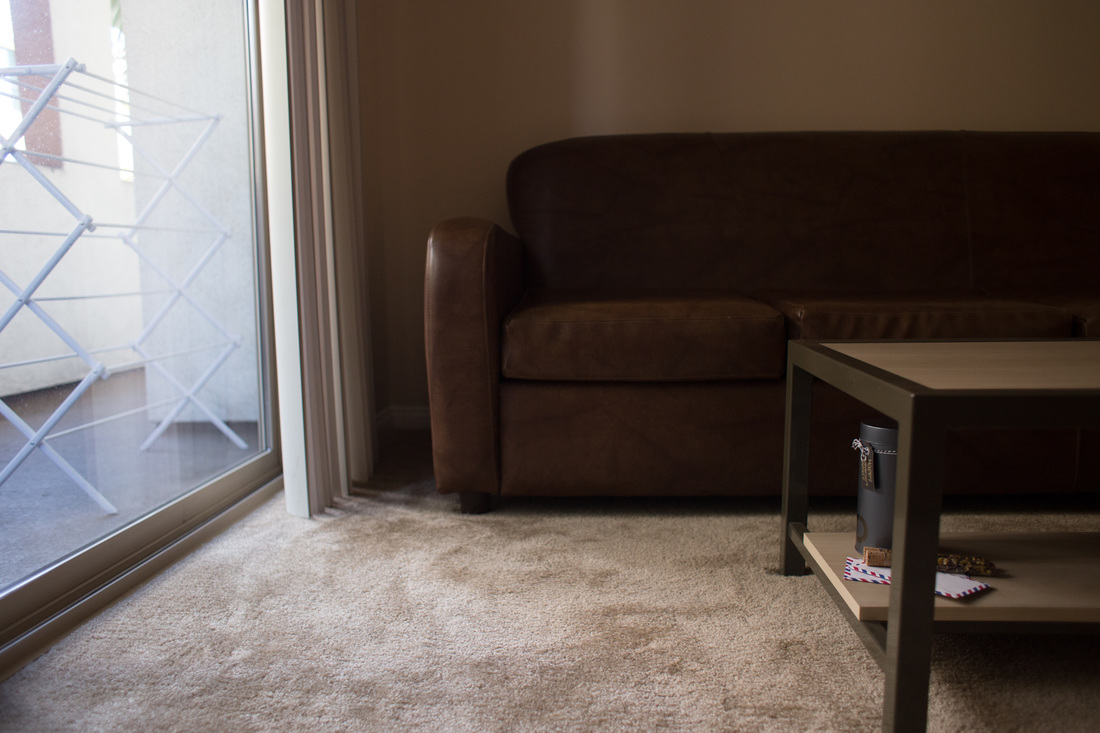 I was lucky enough that the placement of my subject happened to be facing the light source I wanted to use (the light coming in from the screen door). Had it not been facing in this direction, I would have moved the table over. Since I am a natural light photographer, it is important to leverage the outside light. 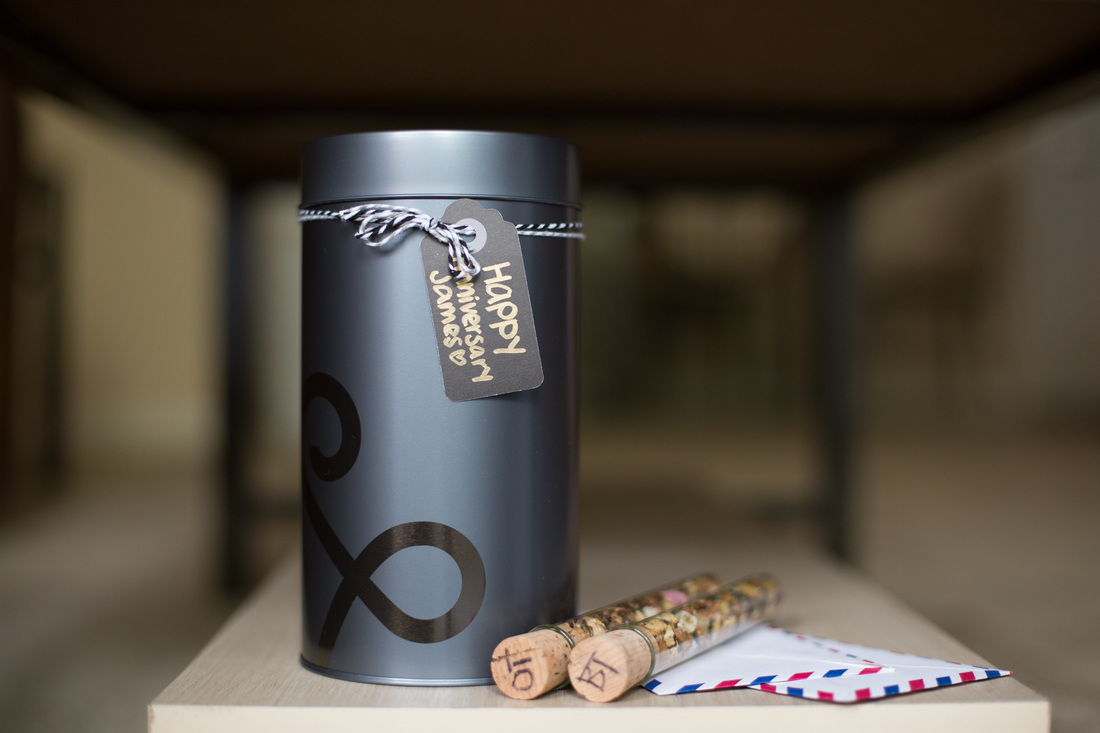 50mm 1/125 f/2.0 ISO 1250 Here is the finalized product! I shot it using my 50mm 1.4, a beautiful lens for detail shots. My settings are in the caption. As bright as the light seemed like it was coming from outside, it was a pretty cloudy day, so I had to bring up my ISO and slow my shutter speed. I could have also brought the table closer to the screen door, but that wasn't an option given my focal length since I was already laying down by the door. The reason the OT (oolong tea) and BT (black tea) label aren't in focus is that my aperture is very wide (2.0), and they aren't on the same plane. Everything would be in focus if I had put them on a straight line next to each other. However, I wanted to create some depth to the photo and bring the attention to the Happy Anniversary.
For those of you who are curious about what the gift was, inside the canister are more test tubes, and they are all filled with different kinds of tea from Teavana! I was hoping to combine two of James' favorite things: tea and science. I hope these tips helped anyone who was curious. Happy Monday! Every time my birthday comes up, I am reminded of all the wonderful people I have in my life. From my friends, my family, James, and even those who take the time to wish me a happy birthday on Facebook even though we haven't talked in ages. I feel so grateful to everyone who has made my 21st birthday so special, and who have gotten me to where I am today. Thank you everyone who has taken the time to wish me a happy birthday! To wrap up this blog post, here is a shot from my birthday celebration with my family aka the Wu clan at Scarpetta Beverly Hills (the waitress really wanted this shot, and I'm glad because it's one of my favorite photos!). 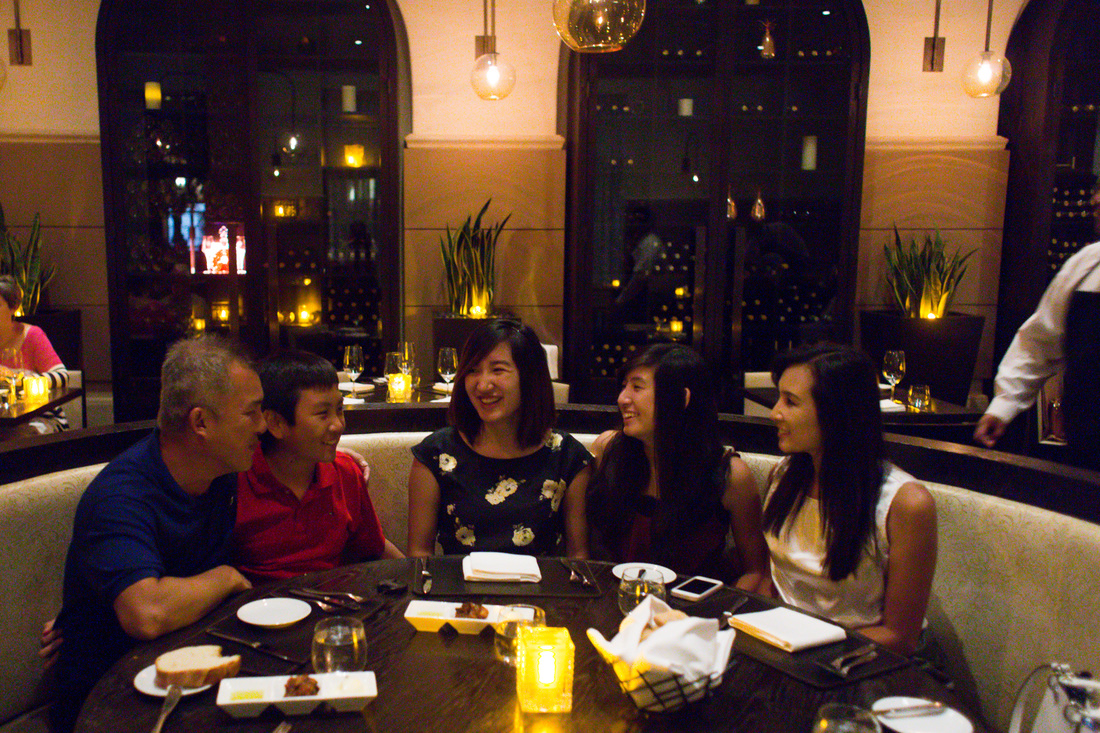 The celebration continued at home with lots of confetti... 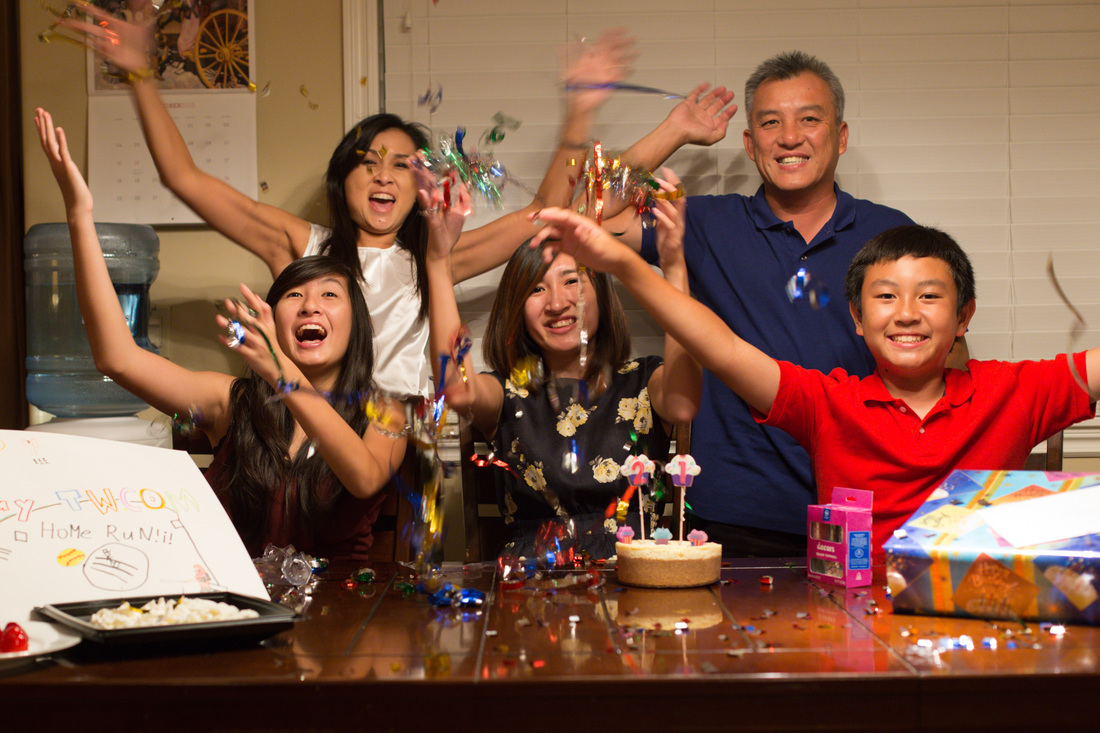 I wish moments like these could last forever. Thank you everyone!
|
 RSS Feed
